Showing posts with label Dark Ages. Show all posts

Thursday, July 16, 2026

Hypothetical Hastings: Vikings vs Normans

At Historicon, I met with my buddy Rob and we decided to play a game of Ravenfeast Big Battle variant. I had previosly gamed Hastings with Alex and I wanted to get the Vikings on the table. I decided to play a "what if" scenario where Harald Hadrada had led his Viking army to victory over Harold Godwinson at Stamford Bridge and hen raced down to face William at Senlac Hill. For this one Rob took control of the Normans while I led Harald and his vikings.

Viking Center

My deployment mimicked the Anglo-Saxon plan at Hastings, I deployed a battleline on the hills and dared the Normans to smash against my shieldwall. 

Norman Left flank led by Bishop Odo

Rob had other plans and looked to use his mounted knights to cautiously test my flanks. Rob's lines were hesitant to come to grips with the Vikings and my handful of archers didn't cause enough discomfort to goad him into more aggressive (and rash) behavior. 

Some Viking berserkers attempted to change Bishop Odo but were ultimately cut down by some knights. 

Instead, the Normans were content to let their knights hurl javelins and their bows and crossbows to unload volleys. 

Rob's crossbowmen started to target Harald Hadraada and inflicted two casualties. Alarmed at the potential  loss of my leader in such an anticlimactic manner, I saw a moment, broke my left flank shieldwall and launched Harald and some huskarls straight at William of Normandy. Harald and his hearth guard managed to slaughter some Norman knights and nearly felled William before ultimately succumbing to a frenzy of assaults. I pulled my left flank back to refuse it.

At this point, it was getting late and it seemed apparent that the Vikings would ultimately fall. I conceded to Rob and his Normans. Our alternate history would still end with William the Conquerer taking the throne of England. 

We did some things wrong but nothing that likely changed the outcome and most importantly we had a good time. 

Saturday, April 25, 2026

Big Battle Ravenfeast: Hastings

At the last minute, Alex and I decided to get together for some gaming. It was my turn to host the game and I hadn't done much preparation so I figured a game of LittleWarsTV's Big Battle Ravenfeast would be ideal.

I painted up the Norman, Saxon and Viking armies but never had a chance to game with them so this would be an ideal opportunity with some quick-play rules like Ravenfeast. My scenery isn't perfect for the 1066 campaign scenarios but it's good enough for this outing. I opted to go with the Battle of Hastings, I would command the Anglo-Saxon army and Alex would lead the Normans.

Ravenfeast, and the Big Battle variant, are fairly simple and straightforward: IGO/UGO with the usual sections comprising a turn (rally, movement, missiles, melee, morale, etc.). A player succeeds when they roll equal or lower than a stat line for their unit.


Harold Godwinson (lower right corner) with 3 units of huscarls and 9 units of Wessex fyrd. Harold would command the right flank.


Harold's brothers Leofwyn and Gyrth (center row) would hold the left flank with 2 bases of archers and 5 bases of veteran fyrd (I decided to use my Viking bondi as select fyrd to aid in visual recognition).


I deployed the archers on the extreme left followed by the veteran fyrd to their right. Leofwyn and Gyrth were deployed along the line to stiffen the fyrd. Harold and his huscarls formed the center and a deep formation of Wessex fyrd were on the far right flank.


Bishop Odo (bottom) with 3 units of Norman infantry and 3 units of Norman cavalry would command the left for the Normans.


William (bottom) with 2 bases of crossbowmen, 3 bases of Norman infantry and 3 bases of Norman cavalry.


Eustace would command the reserve with 3 bases of Flemish infantry, 2 bases of archers and 2 units of cavalry.


Norman deployment.


The Norman cavalry charged home and slammed into the flanks and center of the Anglo-Saxon line. William's foot started in shieldwall and moved slowly towards the line of contact.


The Norman missile troops managed to kill off the Anglo-Saxon archers during the initial exchange of arrows. 


The Anglo-Saxon left was in danger of getting flanked so I began to move fyrd from the second line to extend and secure the flank.


The Anglo-Saxons had a lot of inferior fighters in the fyrd but the combination of being in shieldwall on the hill made it hard for the Normans to inflict casualties (Alex and I forgetting to apply the cavalry's "mighty" modifier in the first few turns also contributed to Anglo Saxon durability). Alex ordered his infantry to move forward into the maelstrom.


The battleline saw significant losses (red caps) for William. Leofwyn suffered a casualty but he is "tough" and can take 2 hits before falling. The shieldwall was a tough nut to crack...


As the battle wore on, casualties began to mount. The integrity of the shieldwall was broken and parts of Harold's line could no longer count on the save modifier they initially benefitted from. Smaller, isolated battles took place along the line. A few "Deaths Worthy of a Song" and the death of Odo caused morale checks along the line and failed rallies caused more carnage.


Both armies suffered enough casualties that army morale tests were triggered and units on both sides panicked (yellow caps). Some did not recover.


All that remained of both armies. Both armies reached their break point and since phases within a turn are simultaneous, we agreed that night had arrived and both armies were exhausted. A bloody draw.


The fight between William and Leofwyn on the left flank.

I think the battle lasted about two hours and it was a most enjoyable game, Alex and I had fun and we are both interested in fighting the other scenarios. We did some things wrong and we forgot some rules (Alex remembered to use the "feigned flight" only once). It was good to get the armies on the tabletop on a rainy Saturday afternoon and roll some dice.


Monday, March 24, 2025

Norman Army (and 1066 Project) Complete!

Despite an operational pause during the painting for the weeks leading up to the Pendraken painting competition, I pushed through and finished the Norman army for Big Battle Ravenfeast. I need to see the scenery needed for the refights of the three battles of the 1066 campaign but I should have most of it and what I need (some Saxon buildings and army camps) should be minimal. 


Here is the full army with an impressive mounted contingent. I have to say that this was probably the easiest of the armies to paint. The Vikings for whatever reason, were the ones that were tedious...and that was the first of the three armies I tackled. 


The shock arm of the Norman host, their mounted knights. I developed a pretty quick .method for painting these fellas. The shields were pretty easy too. You might notice one knight with a green shield that is a bit struggling...he sits in his saddle at a nearly 45 degree angle. It seems he slipped a bit during gluing or perhaps he's had too much wine. 


Here are the Norman infantry, which are Old Glory's "Heavy Infantry".mostly chain mail and shields, I was able to breeze through these sculpts. 


The three bases represent the Flemish infantry under Bishop Odo's command. I opted for the OG "Medium Infantry" for these guys since they have inferior ratings to the Norman infantry. Out of the various sculpts within the Norman army, these were probably the most annoying to paint because of the shield position. 


Two bases of crossbow and two of archers represent the ranged capability of the army. The Old Glory crossbowmen only come in one pose, I would have preferred a second pose but I'm not too bothered. The archers actually have two poses and I painted a bunch of the standing pose but I couldn't find them ast the time of basing so I just used the firing pose. Good enough. 


And lastly here are the three command bases representing William, Eustace and Odo. I thought about converting the sword in Odo's hand into a wooden club but I just wanted this army painted and on the table. 

Now I just need to get in some tabletop battles with these three armies. With the completion of this project, the question becomes what is next up? 

Wednesday, January 1, 2025

Big Battle Ravenfeast Norman infantry

With the Vikings and Anglo-Saxon armies complete, I have turned my attention towards the third and final army of the 1066 campaign, the Normans of William the Bastard. 

Unlike the other two armies, the Normans have a rather decent sized contingent of cavalry. They also have some crossbowmen and archers. The Normans have a much smaller infantry core: 6 Norman infantry stands and 3 stands of Flemish infantry. 

Here are the completed Norman infantry, I opted to use Old Glory's heavy infantry (SVN-304) which have chainmail in addition to helmets, shields and spears. I will use the medium infantry for the Flemish. 

Side view of the stands to show the armor details. These were very easy sculpts to paint and even the shield designs went quickly. I have a feeling the Flemish/medium infantry will be a bit trickier. 

Monday, December 23, 2024

Ravenfeast Anglo-Saxon Army

It was a bit of a slog but I finally finished off my Big Battle Ravenfeast Anglo-Saxon army...a total of 30 bases. With this force, I can game Fulford Gate, Samford Bridge and Hastings. 

Pictured above is the entire army, almost entirely Old Glory 10mm with some Magister Militum cavalry (or perhaps mounted infantry?). 

First up are eight bases of general fyrd. I went with muted figures for these fellas. This is probably my least favorite strip of figures in the Old Glory 1066 range. I think it's the shields (I'm not so sure about the convex oval one) and the fact you can't really cut this particular sculpt apart to get a little more dynamic pose. They are fairly easy to paint. 

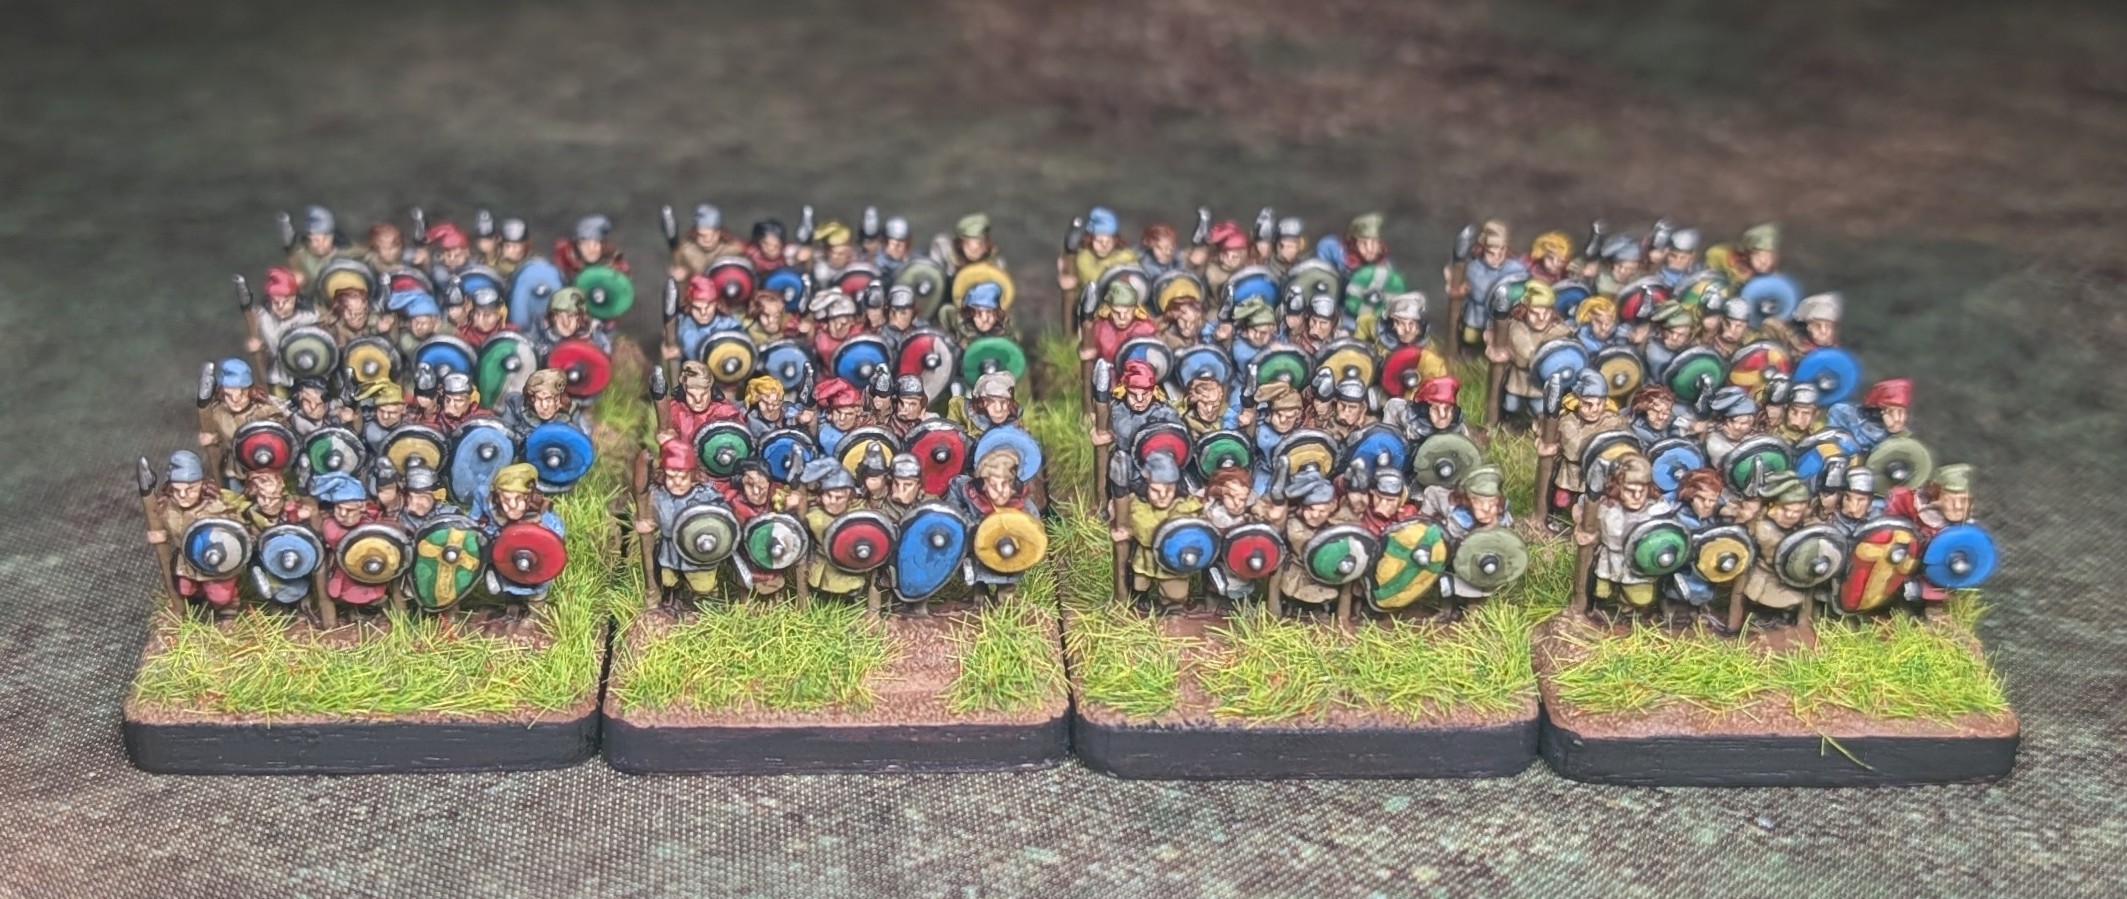
Here we have the select fyrd, also eight bases. Same sculpts but I went with a bit more colorful shields and even some designs. Their clothing has a few more borders and such on them. 

Here is the rear view of some of the fyrd. Not much armor on these guys. 

I also took some photos of the three bases of  archers but managed to accidentally delete them...anyway, if I still had them they would be here. Tthey will give the army  a (very tiny) bit of a ranged combat ability. Some of these sculpts may be Norman archers but I figured there probably isn't much difference in appearance between various peasant archers of western Europe. 

Here we have the mighty Huscarls. Reputedly some of the finest infantry in the world at the time, these sculpts are heavily armored with axes and kite shields strapped to their backs. I enjoyed painting these sculpts. 

And here is the rear view of them. I painted curved cross designs on some of the shields to break up the monotony of solid colors. Fairly pleased with the results since I didn't really lavish a whole lot of effort in painting this army. 

And next up are the three command bases with draco standards and heroic looking leaders. The red draco is Harold Godwinson and the others are his brothers. 

Lastly we have the mounted huscarls which are an option for Samford Bridge. I believe there's some dispute if they actually fought mounted but I figured I would paint up the option for completeness' sake. 


I'm glad to finish this army, it was a bit tedious to paint but nowhere near as much of a slog as the Vikings. I can now play the first two scenarios of the 1067 campaign. The Normans will probably wait just a bit as I will want to take a quick detour to paint up some other small projects before returning to complete this project with William the Bastard's army. 

Friday, November 22, 2024

Big Battle Ravenfeast Vikings Finished

After Fall In, I opted to try to finish my Big Battle Ravenfeast armies for the 1066 campaign. For a while (over a year), my Viking host had been languishing unfinished. I am proud to report that is no longer the case. 

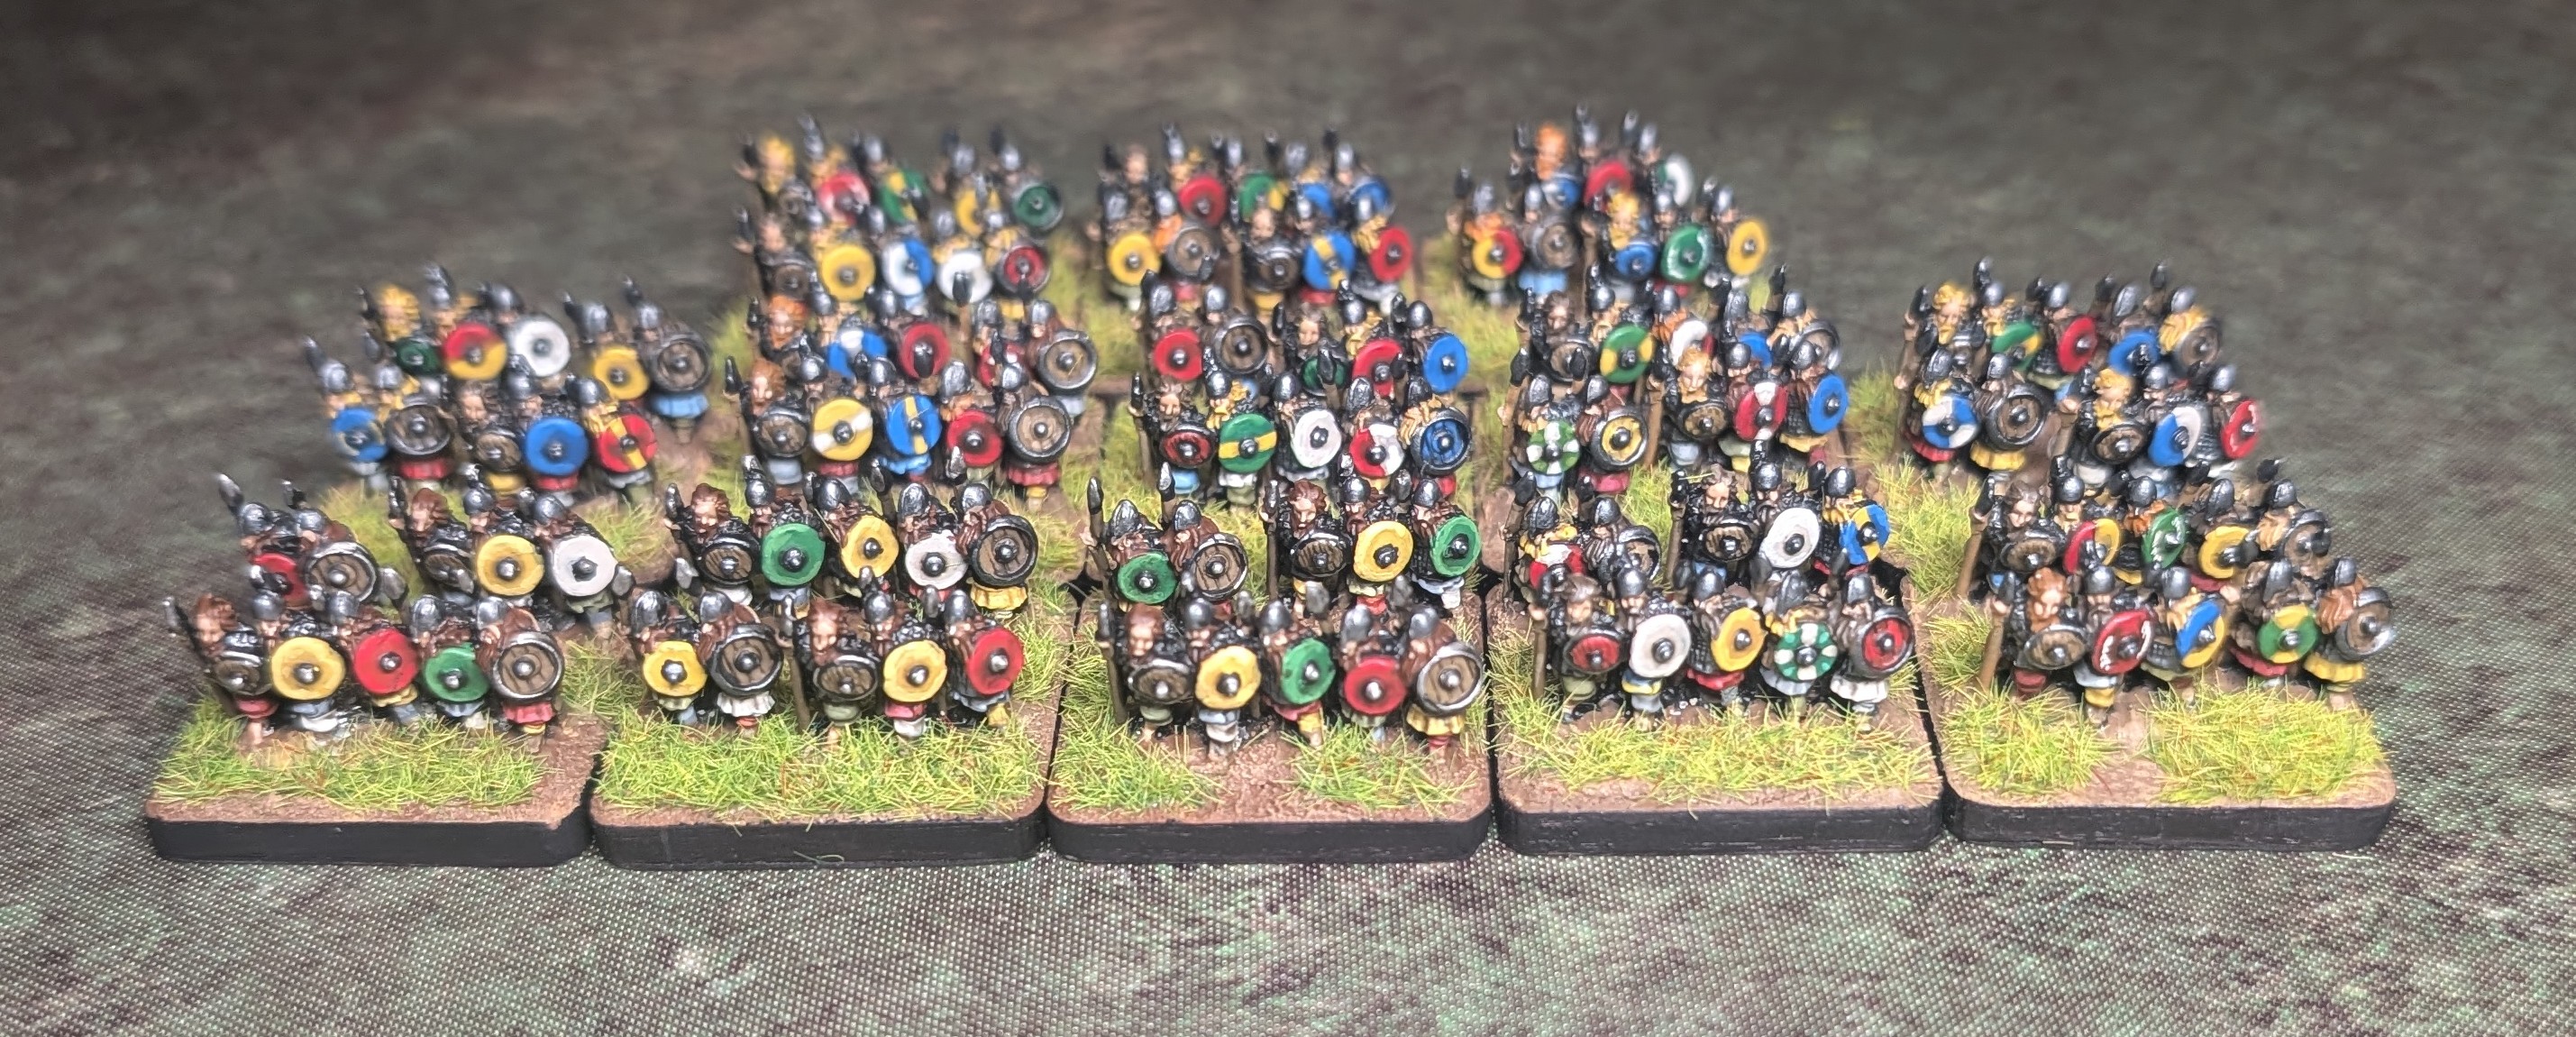
Here is the entire army of Harald Hadrada. There are 13 bases of bondi, 4 bases of hirdmen, 4 bases of scouts, 3 bases of archers, 3 of Scottish spearmen, 3 bases of defector Saxons (followers of Tostig), one berserker stand and 3 command bases (Harald, Tostig and Eystein Orri). 

First up are the bondi (or raiders in the rules), there are lots of brightly colored bases. In order to fight either Fulford Gate or Stamford Bridge, I will need 13 bases of bondi, I ended up painting two extra. These are all Old Glory and these were my least favorite sculpts to paint.

Here are the Scottish spear, mercenary spears for hire. Painted in drab, cool earth tones. All the figures are Magister Militum. I've painted these guys before to represent dark ages Irish.

Next are some elite hirdmen. I will have to go back into the scenarios and make sure I only need four bases of these fellas (EDIT: I just checked and it's only four, thank goodness). All Old Glory sculpts. 

The commander bases (L-R: Tostig, Eystein, Harald). There are two Viking commanders and one Saxon. The Viking commanders have banners and I attempted to draw some fancy horse and raven glyphs on these but the ink ran a bit. The Saxon commander (Tostig) has a red draco standard. Also Old Glory sculpts. 

The Saxon scouts for the Fulford Gate scenario. I used a mix of random sculpts from Magister Militum and Pendraken. I tried to go with as many unarmored figures, many of them not Viking sculpts. 

The Viking archers bases, all three of them. Mostly Old Glory, maybe all actually. 

Here are my three bases of Saxon defectors. These are Old Glory Saxon fyrd. These are fairly easy figures to paint. 

Lastly my singular base of Vikings Berserkers. These little fellas feature in the Stamford Bridge scenario and are all Old Glory.

And that's the full army, I've already begun my Saxon army.. hopefully I can get this army done before Christmas and start working on the tried and final army...William's Norman conquerors.